Showing posts with label homemadeChristmas. Show all posts

Tuesday, December 3, 2013

Finishing Up the No Sew Bean Bag Project

So, way, way, way back in October I shared a no sew bean bag project here. Well, I was always planning on getting this gift into a more "finished" state before wrapping it for my 2 1/2 year old (not that he will really care. 

So, I got out all the supplies again and started by writing the color words on each of the bean bags with a black Sharpie. I tried to print the words as neatly as possible so that he could easily read and identify the letters. No fancy script for this project...


I then pulled out the rest of the blue material, folded it in half so the inside pattern was on the outside, and placed the hem tape inside the two pieces of fabric as close to the unfinished edge as possible. I left about four inches by the opening without tape.


I ironed the edges, then folded over the fabric around the opening. Again, I placed hem tape as close to the edge of the unfinished ends as possible and checked to make sure I had created a pocket.


After ironing, I used my Sharpie to make sure the opening was still there around the top of the fabric.


Then I used a paper clip (I couldn't find a safety pin. Those usually work better) to help me a piece if ribbon through the pocket.


When I was done, this is what it looked like.


I flipped the bag right side out...


Wrote Max's name on one side because he likes to have his name on things...


Then put the bean bags inside the bag, tied it up, and labeled the other side so that my dear son wouldn't forget what was inside. 


One project done! It only took one and a half months. Is your project timeline as pathetic as mine? What are you creating? Any no sew projects

Monday, December 2, 2013

DIY Custom Bowl and Mugs for our Christmas Eve Tradition


The Dare to DIY link party is hosted by Kim at Newlywoodwards, Cassie at Primitive and Proper, Michelle at Decor and the Dog and Rachel at Maybe Matilda. Thanks Ladies!

The theme of today's "Dare to DIY" is entertain. For this project, I created some customized tableware for my family. Although they could be used as bowls and mugs for everyday life, these have actually been created for a special event in our home - the opening of our Christmas Eve Box.

On Christmas eve the boys open a box that includes everything we need to have a cozy Christmas Eve movie night, cuddled around the fire. Last year the box included pajamas and slippers, a new movie, hot chocolate, and popcorn. This year, there will be comfy pants, a new movie, a new popcorn bowl (pictured below) with popcorn, and hot cocoa mugs (I plan on using a fancy crock pot recipe for our Christmas Eve cocoa).

Okay, enough back story. Here is how I created the goods.

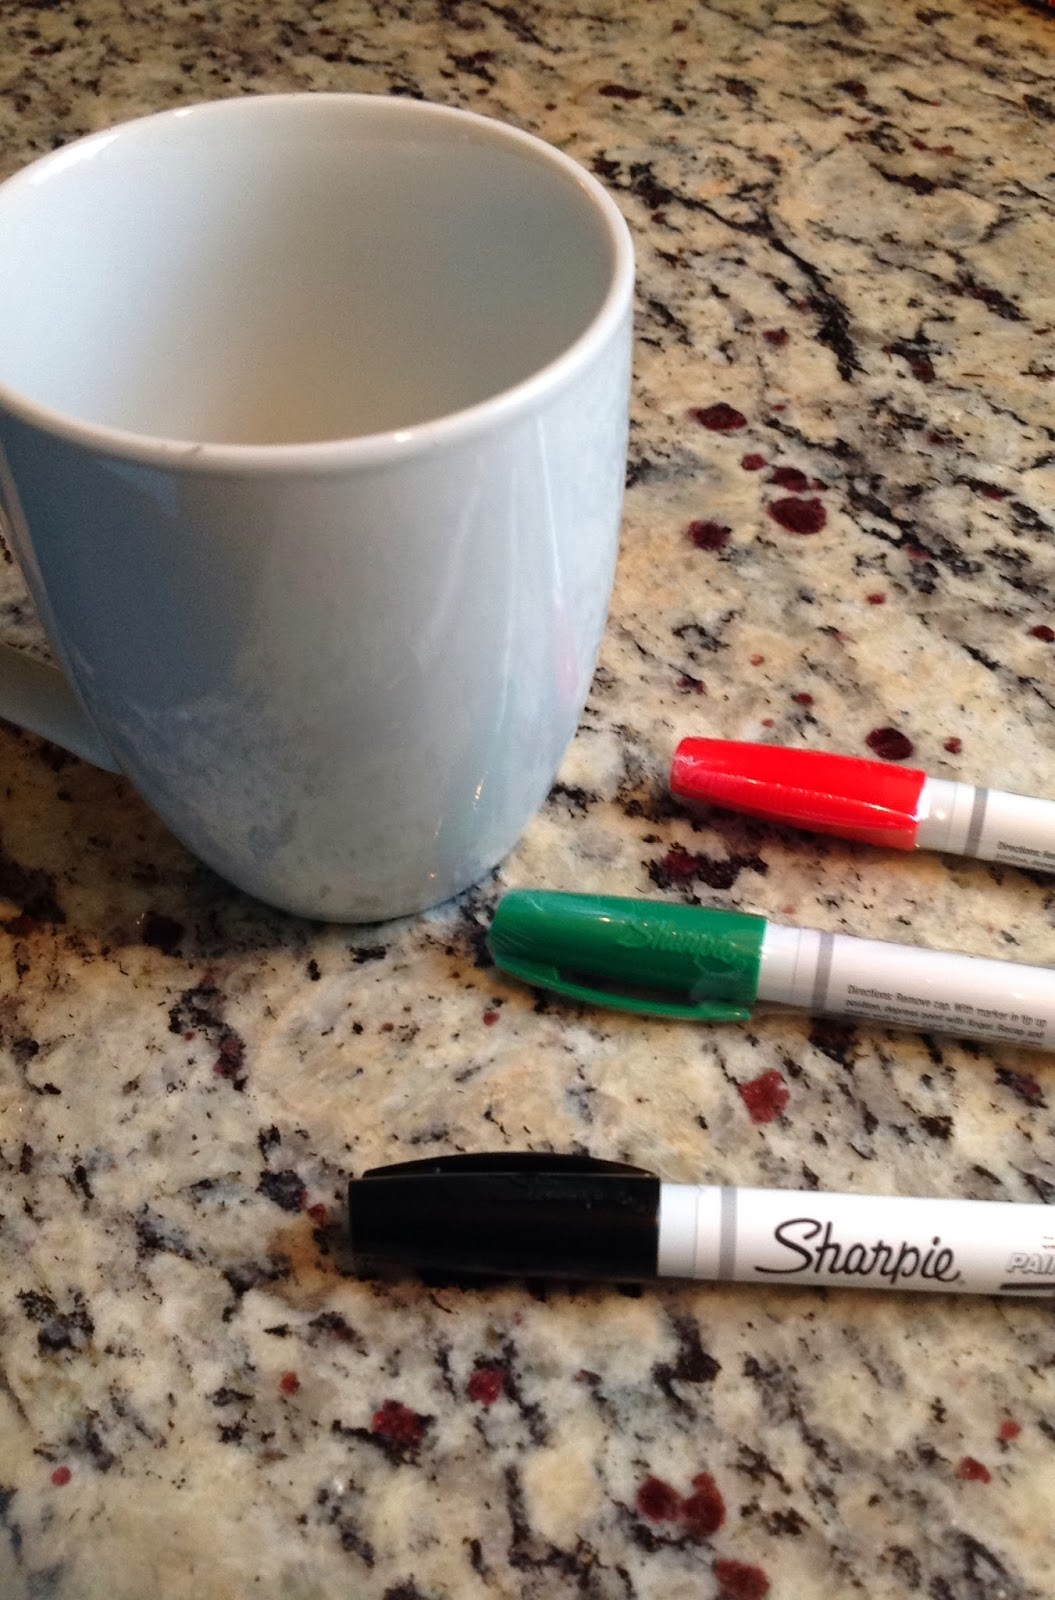
Actually, it was really easy. First I went to Target and found white bowls and mugs. I was extra psyched because there was an extra 10% off with Cartwheel for the white dinnerware. (Wahoo, bonus savings!)  Then I bought some Sharpie paint pens that are specifically for ceramics. (I have previously made the mistake of using the regular Sharpies and baking the mugs which Pinterest said would work. Pinterest lied!)


Fair warning: I am about as far from an artist as you can get so I typically rely on stick figures and bubble letters.

I started with the mugs. I wanted each of the boys to have their own, so I made sure to put their name on their mugs and then a little bit about the things they love and are great at. Here is what I came up with:

Obviously I free-handed it all. I did not really have much of a plan, I just added as I went and tried not to over do it. (I think I overdid it.)

Then I tackled the bowl. Again I relied on stick figures and bubble letters. For the holiday addition I searched for a clip art that I liked and then tried my best to recreate it. Yes, this is my best work. Sad! Or, perfectly imperfect? (Oh, and obviously the black mark is my attempt at privacy, added to the picture not to the bowl itself.)


So, there you have it. Customized mugs and popcorn bowl. The paint pens are really easy to use and went on pretty smoothly. The black was fine tip and the red and green were medium. I actually think the medium were easier to use, but the fine tip was better at details (obviously) so it might be a good idea to have a combination of both. 

Although tableware will be used for our Christmas Eve box, the same idea could be used to make mugs or plates for Christmas dinner. Your guests could take them home at the end of the dinner, maybe you could even fill them with leftovers? Or you could create a platter to use with whatever your contribution is to the dinner and leave it with the host/hostess as a thank you. So many options. What other ideas do you have?


Thursday, October 24, 2013

No Sew Bean Bags - Let's get crafty!

Recently, on Zulily, I saw a set of beanbags that looked pretty fun. (I admit it, I'm a sucker for bean bag.) These bean bags came in all of the primary colors, which would be great for my 2 year old who frequently tells me that everything is either yellow or green. I also recalled my oldest (eldest??) son's kindergarten screening where they had him catch bean bags. (Let's just say I wish that I had practiced that particular skill more with him before the screening.)  I quickly put the bean bag set in my shopping cart and was just about to hit the checkout button when I realized that I could probably whip some up pretty easily. This thought, along with my hope to have a partially homemade Christmas, motivated me to take a trip to JoAnn Fabrics. Look what I found!


I am not much of a seamstress due to the fact that my sewing machine is broken (or maybe I just don't know how to use it) so I picked up some bonding tape and some quilting quarters in a rainbow of colors. 


It took me all of five minutes (probably less) to make a super easy beanbag. If I had taken more time, I probably could have made the beanbag more square, but my boys really won't care. 

All I did was cut a square of fabric (I should be able to make four beanbags per fabric quarter), fold 
the square inside out, and iron the hem tape around two edges (one edge was made by the fold in the 


fabric). 


Then I turned the fabric right side out, put some beans in the bag, and closed up the last side with more tape. 


SO easy! Admittedly I am not much of a crafter, nor do I have any patience (I just want to get it done!) so someone with more skills could probably make these even cuter and better than me but, once again, my boys will not really care they will just love to throw these little bean bags around. (Uh oh, I didn't think about that!)

Originally I was going to embroider the color words on the front of the bag but the baby is crying. 
Maybe next time!


What cute, easy crafts are you tackling?